Podcast: Download (Duration: 31:45 — 30.0MB)
Show Notes: Episode 184
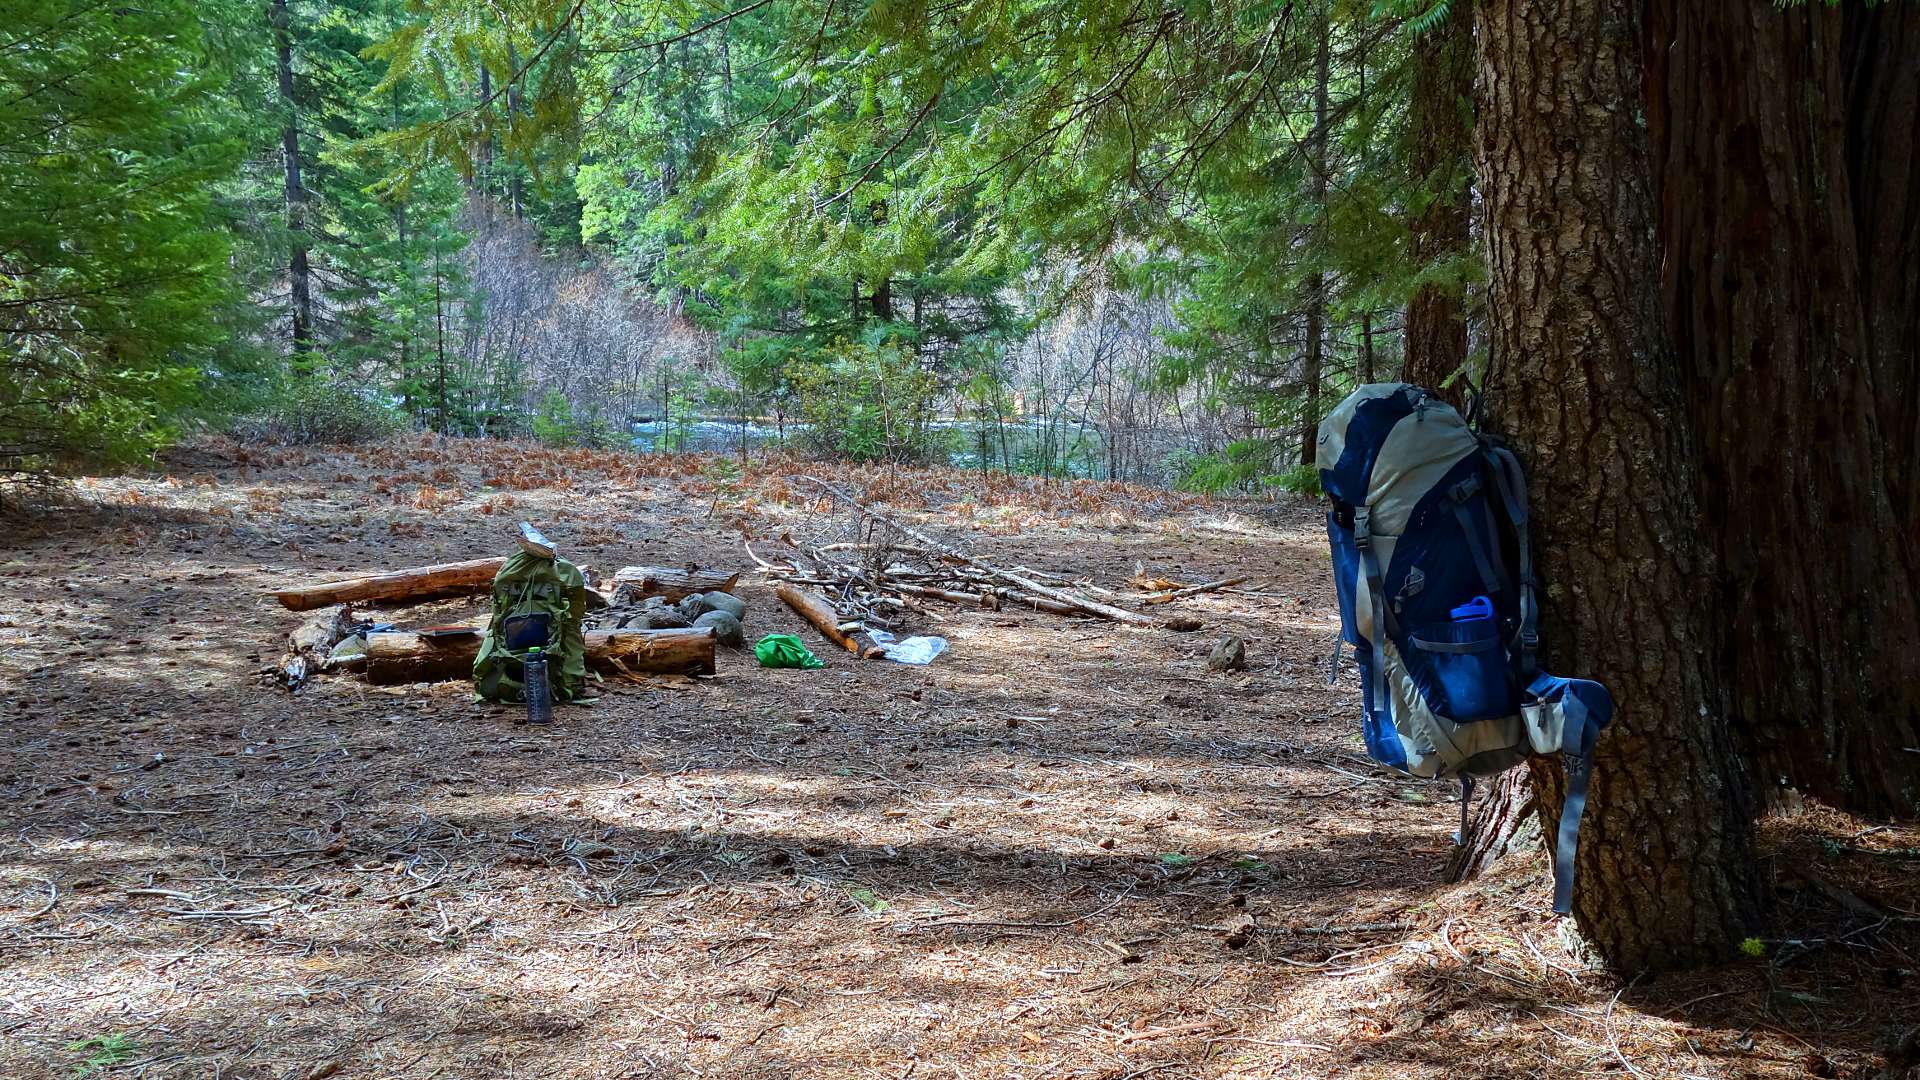
Today on the First 40 Miles, after a long, glorious day of hiking, you arrive into camp and you can relax. Almost. We’ll share a few things you’ll need to do first that will make it so you can truly kick back. Then, we discovered a tool that not only helps with minor trail clearing. but also earns it’s weight when it comes time to build a long-burning campfire. For today’s hack, not all putts drop—and when they don’t, you need to make sure you clean them up. We’ll show you how.
Opening
- Hike to Camp or Camp to Hike?
- Do you look forward to getting into camp?
- What do you look forward to?
- Camp chores
Top 5 Things You Need to Do When You Get Into Camp
Drop your pack
- Take off your pack—this is important
- Take a deep breath, roll your shoulders, stretch, and think back on the day
- Take off hiking shoes and change into some camp shoes
- If you didn’t bring camp shoes, untie your hiking shoes and loosen the ties, tuck the shoe laces into your shoes. This will increase ventilation and help your feet breath
Bathroom
- Find one. They’re usually about 200 feet out and look like a tree.
- Since it’s the end of your day, be sure to wash your hands with soap and water–this is important since you’ll be making and eating dinner soon.
Get water
- Usually established camp sites—even in remote wilderness areas, are strategically placed near water. (Not always)
- In camp you’ll need water for lots of things, so now is the time to go harvest some water
- Replenish your drinking water, water for meal preparation (usually 2 cups per meal), may need water for personal hygiene and laundry, and maybe a little extra for rinsing out your pot or cup after dinner.
Get your shelter set up
- Your shelter will be much easier to set up when it’s still light outside, hours from bedtime.
- Bedtime will be that much better if your tent is up, your pad is rolled out or inflated, and your sleeping bag has been removed from its stuff sack and fluffed up.
Meal prep
- Get your mini kitchen set up, your stove, your pot, your food, your water
- Make sure it’s away from your tent
- Now is also a great time to look for a tree that has a branch where you can hang your food
- You can also use a rodent-proof stainless steel mesh bag if you don’t want to hang your food in a tree.
#6 Build a fire
- Many established campsites have an established fire ring.
- Hunting for wood—we only use wood that we find on the ground.
SUMMIT Gear Review™: Sven Saw 15″ and 21″
Structure
- Anodized high strength aluminum alloy frame
- Made with Swedish Steel
- Made in Minnesota
- “Make quick work of fallen branches, firewood or yard work with Sven’s Folding Saw. Razor-sharp Swedish steel blade rips through a 6” log in about a minute. Lightweight triangular design is easy to handle and provides a solid hold. Blade folds into handle for safe storage.”
- Has a leather strap so you can hang it from your pack
Utility
- How to Use: Wing nut keeps blade locked inside, and also secures the blade to the handle when it’s in use.
- Blade is folded away in the frame
- http://www.svensaw.com/instructions.html
Mass
- Weigh 11 ounces for 15” Sven Saw
- 15” – Folds to 17”L x 1.75”W x 0.63”H.
- 21” – Folds to 24”L x 1.75”W x 0.63”H.
Maintenance
- Blade, when kept clean and dry, should last for years
Investment
- $40 range…depending on retailer
- Cannot buy from Sven Saw’s website
Trial
- Every winter, trees fall…storms, wind
- We used it to clear about 3 years of fallen trees on 1.25 miles of trail in about 4-6 hours with our family.
- Smooth, fast, easy to use, light enough for backpacking, blade is hidden away
Backpack Hack of the Week™: “After the Fact” Cat Hole
- Cat holes are an important part of leave no trace in the back country. But sometimes nature calls before you’re ready to answer.
- When you go to the bathroom, it’s really important that solids are buried in a hole to prevent the spread of disease. But if for whatever reason, you’re not able to dig a hole in time, you can dig an “After the Fact” Cat Hole.
- Dig a proper cat hole next to your pile, being careful not to let your trowel touch your pile. The cat hole needs to be 6-8 inches deep and 4-6 inches across—big enough for a Nalgene water bottle to fit into. Then, using a stick or some forest floor debris, transfer the waste into the hole and cover it up. See? All better.
- If your pile was, shall we say, explosive or leaky, and it was hard to transfer the pile completely, do your best to transfer what you can into a cat hole, the cover the other spot with a pile of dirt.
Trail Wisdom
“It were happy if we studied nature more in natural things, and acted according to nature, whose rules are few, plain, and most reasonable.”
–William Penn, Some Fruits of Solitude, 1693
NOTE: Check out BackpackerABCs.com for a video of our new book, free printables, and parent/teacher resources.

