
Podcast: Download (Duration: 32:35 — 32.7MB)
Show Notes: Episode 113
Today on the First 40 Miles, packing for a backpacking trip can sometimes look like the aftermath of an REI rummage sale. Gear everywhere. We can’t help you with that, but we’ll share some tips for packing that will make your trip go a little smoother. For today’s Summit Gear Review, a load of insulation for your next winter adventure. Next, the Backpack Hack of the Week will show you a sleeping bag hack for all you claustrophobes out there.
Opening
- What packing for a trip looks like in our house
Top 5 Steps for Packing for a Backpacking Trip
Determine itinerary of trip
- An itinerary can be planned months or days ahead of your actual trip—depending on your skill level, experience, and preparation that needs to go into planning this trip. The more challenging the trip—the longer you’ll need to prepare.
- Once you’ve determined where you want to go, you may need to reserve a backcountry campsite or get a permit—depending on where you’re going
- Your itinerary will give you a rough sketch of the trip, including length, elevation, region, exposure, recreational opportunities—and all of these elements will influence what you pack.
- An overnight trip in the summer, near an alpine lake vs. a late autumn trip of 4 days, 30 miles will look different from each other
- You’ll also want to have a map of the area—either printed or purchased
- Once you’ve planned your itinerary, you’ll be able to start on the second step
Check the Weather
- And keep checking the weather!
- The Wallowas trip weather report—it changed a week before
- The Mt. Jefferson trip weather report—it changed every day
- Things can change quickly–and daily!
Gather Gear
- Use a packing list
- Purchasing, cobbling, making, borrowing, finding in your house, scavenging the gear you’ll need
- TripTarp
- Determine last minute needs…
Meal Planning
- Breakfast, trail food, dinner, dessert, beverages
- The colder it is, and the longer you hike, the more calories you’ll need to sustain you.
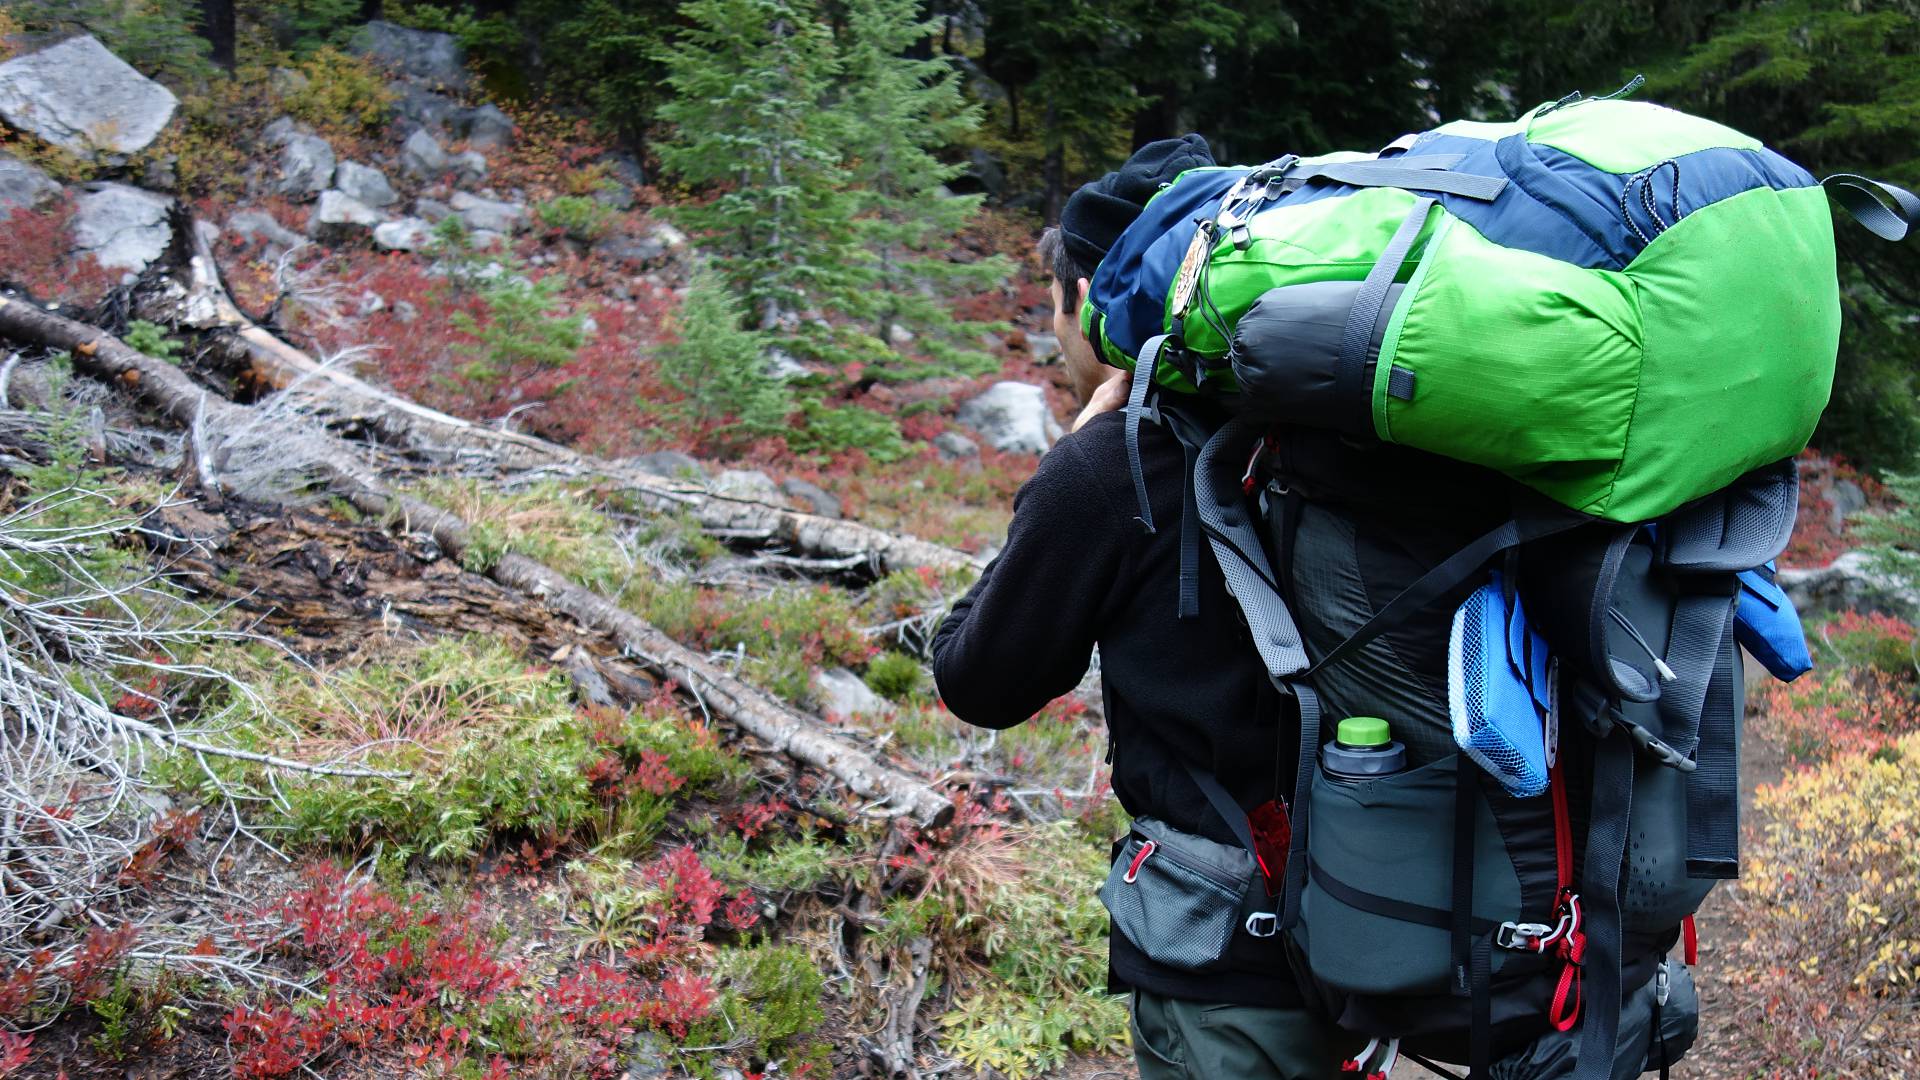
Load your Pack
- Lightweight gear on bottom
- Heavy/dense gear (like food) against your back
- Midweight gear outside (inside the pack—not outside the pack)
- This gives you better load balance
- The rest of your gear—like all the little things that you want access too along the trail, can go into your hip belt pockets or into peripheral gear storage like the Ribz or Clakits
SUMMIT Gear Review™: Kelty Cosmic 0 Degree Down Sleeping Bag
Structure
- Ripstop polyester outer shell
- Polyester taffeta lining
- Natural-fit footbox
- Full draft collar around neck
- 600-fill DriDown™: resists moisture, dries fast, maintains loft and compresses small
- The Slumberjack bag we reviewed recently was 550 fill power
- Fill power: Most commercially available down only has a fill rate of about 550 because it comes from immature geese or ducks, whereas higher-quality down comes from mature birds. A down bag with a 500 fill power will be bulkier and heavier than a down bag of 800 fill power to offer the same kind of insulation. (The higher the number, the less down you use to achieve the same level of insulation). So, for the lightest weight, it is preferable to buy a bag with higher fill powers—but it’s going to be much more expensive
- Baffled construction means that you won’t have cold spots
- 60 in. dual-slider locking zipper with antisnag design and draft tube to hold in warmth
Utility
- Designed for winter backpacking
- 0 degree bag, but the EN rating gives us a little more information
- EN Lower Limit 5 degrees F
- EN Comfort 13 degrees F
- Stuff sack included—however you’ll probably want to invest in a compression sack that is waterproof (we reviewed the Sea to Summit Ultra-Sil Compression Dry Sack)
- 20 lite (Large) Sea to Summit compression sack
- This is a winter bag–it’s not a small sleeping bag.
Mass
- Weighs 4 lbs. 6 ounces (roughly)
- Fits a person up to 6 feet tall, they also have a long version
- This sleeping bag in unisex
Maintenance
- Wash and dry completely
Investment
- $220
Trial
- Used as a quilt
- FatMan and Ribbon™ drawcords were not part of this bag…even though it was advertised as part of this bag
- We liked the anti-snag feature next to zipper
Backpack Hack of the Week™: How to Turn Your Mummy Bag into a Backpacking Quilt
If you have a mummy bag, but you dread using because you feel so trapped when you sleep in it—don’t get rid of it!! Most mummy bags have a long side zipper, and when completely unzipped, the mummy bag transforms into a backpacking quilt with a toasty footbox. (And an awkwardly placed hood.)
Sleep directly on your pad, with your new mummy bag-turned backpacking quilt over the top of you.
Trail Wisdom
“Looking at beauty in the world is the first step of purifying the mind.”
-Amit Ray